Photos can quickly take up most of your iPhone storage, especially if you shoot high-resolution pictures, Live Photos, screenshots, or receive many images from apps. Bulk transferring photos from iPhone to computer is a good way to free up space, create a local backup, and manage pictures more easily.
However, moving a large photo library can be slow with basic tools. Users may run into failed imports, messy DCIM folders, duplicate files, HEIC issues, or iCloud sync problems.
iCopyGo makes the process easier by scanning your iPhone photo library, showing photos in a clear interface, and letting you preview, select, and export photos to Windows or Mac in batches. It is useful for backing up family photos, vacation pictures, screenshots, work images, and freeing up iPhone storage without iTunes. It can also help manage videos, messages, contacts, music, documents, and other iPhone data.
How to Transfer Photos from iPhone to Computer with iCopyGo
Here are the details for transferring photos from iPhone to PC or Mac with screenshots. Please read it carefully before getting started.
Step 1. Download and Install iCopyGo
Download iCopyGo on your Windows PC or Mac. Follow the setup wizard to install the program, then open it from your desktop or Applications folder.


Step 2. Connect Your iPhone to the Computer
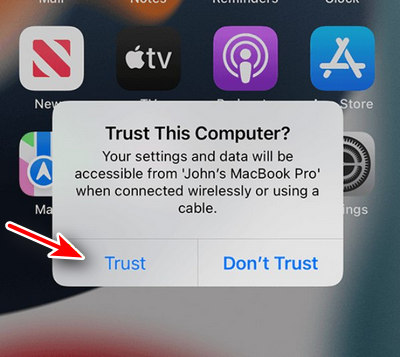
Use a USB cable to connect your iPhone to the computer. Unlock your iPhone and tap Trust This Computer when the prompt appears. Keep the iPhone connected during the whole transfer process. For a more stable connection, use the original Apple cable or a high-quality USB cable.
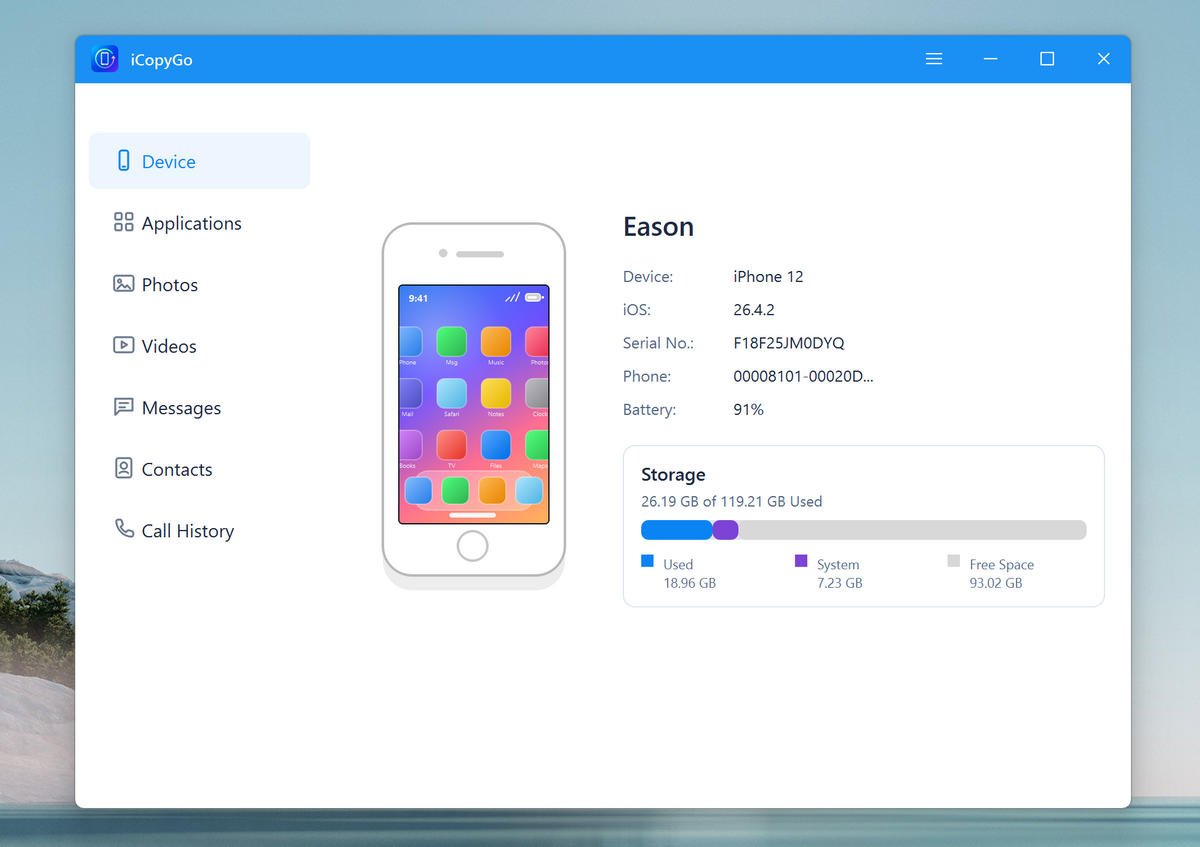
After the connection is successful, iCopyGo will detect your iPhone and load the supported data types.
Step 3. Let iCopyGo Detect and Scan Your iPhone
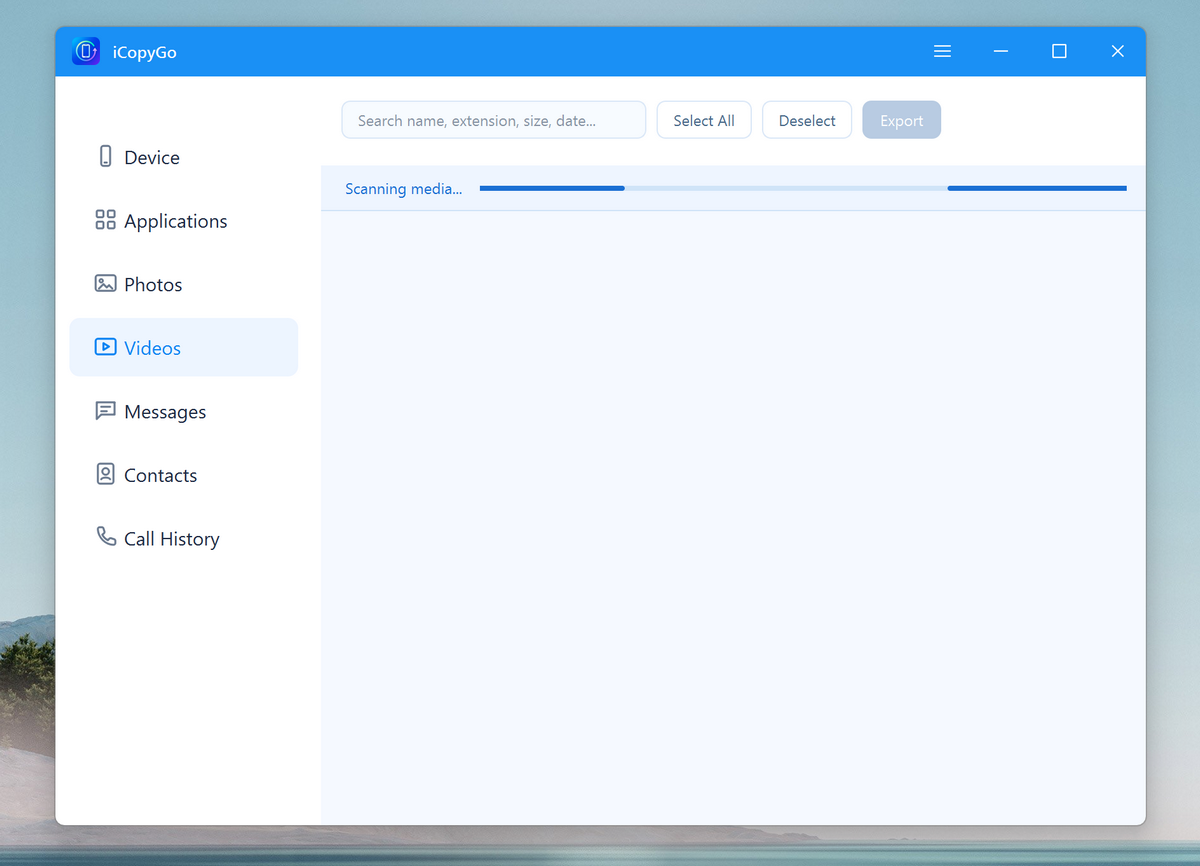
Click the Photos menu from the left sidebar. The app will start scanning the device immediately.
Step 4. Preview and Select Photos
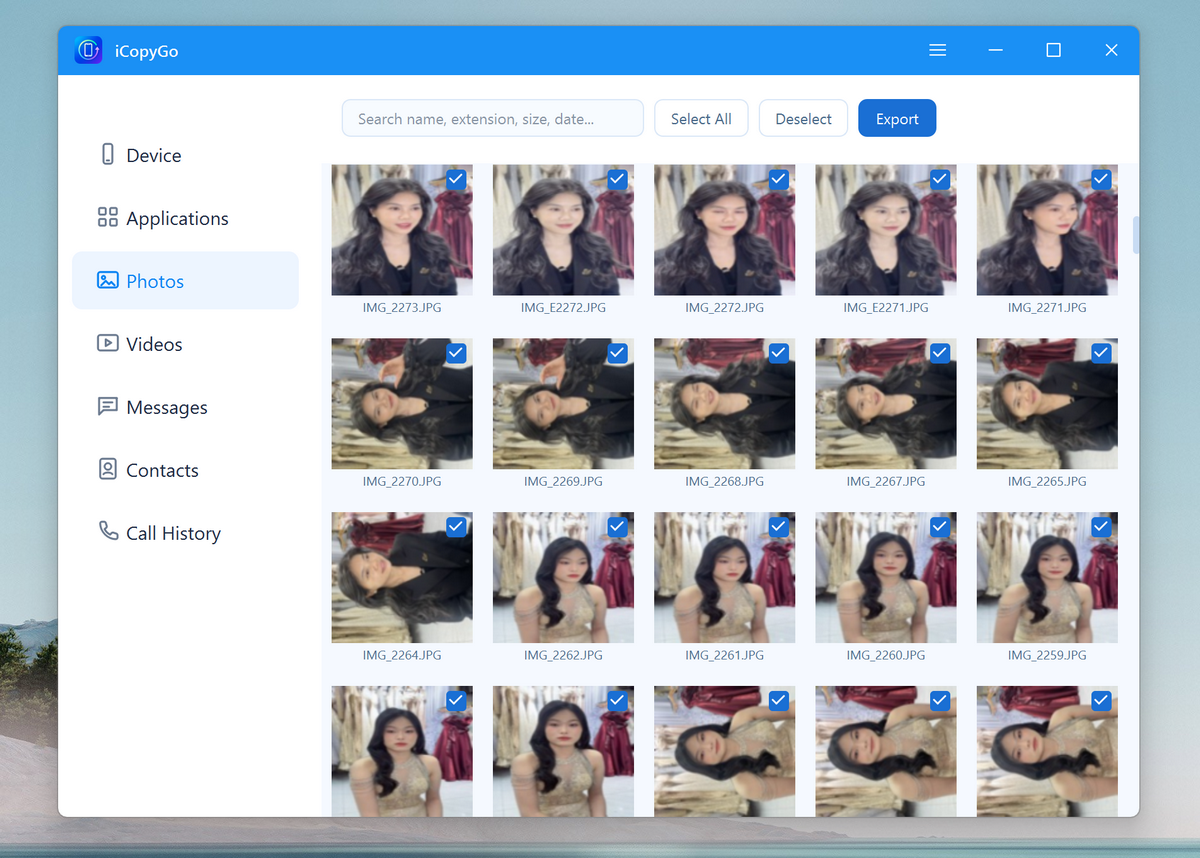
Once the scan is complete, you can preview all photos saved on this iPhone. You can select the photos individually or select all of them in one-click.
Step 5. Export Photos from iPhone to Computer
After selection, click the Export button and choose a save location on your computer. You can save the photos to a local folder, external hard drive, or USB drive.
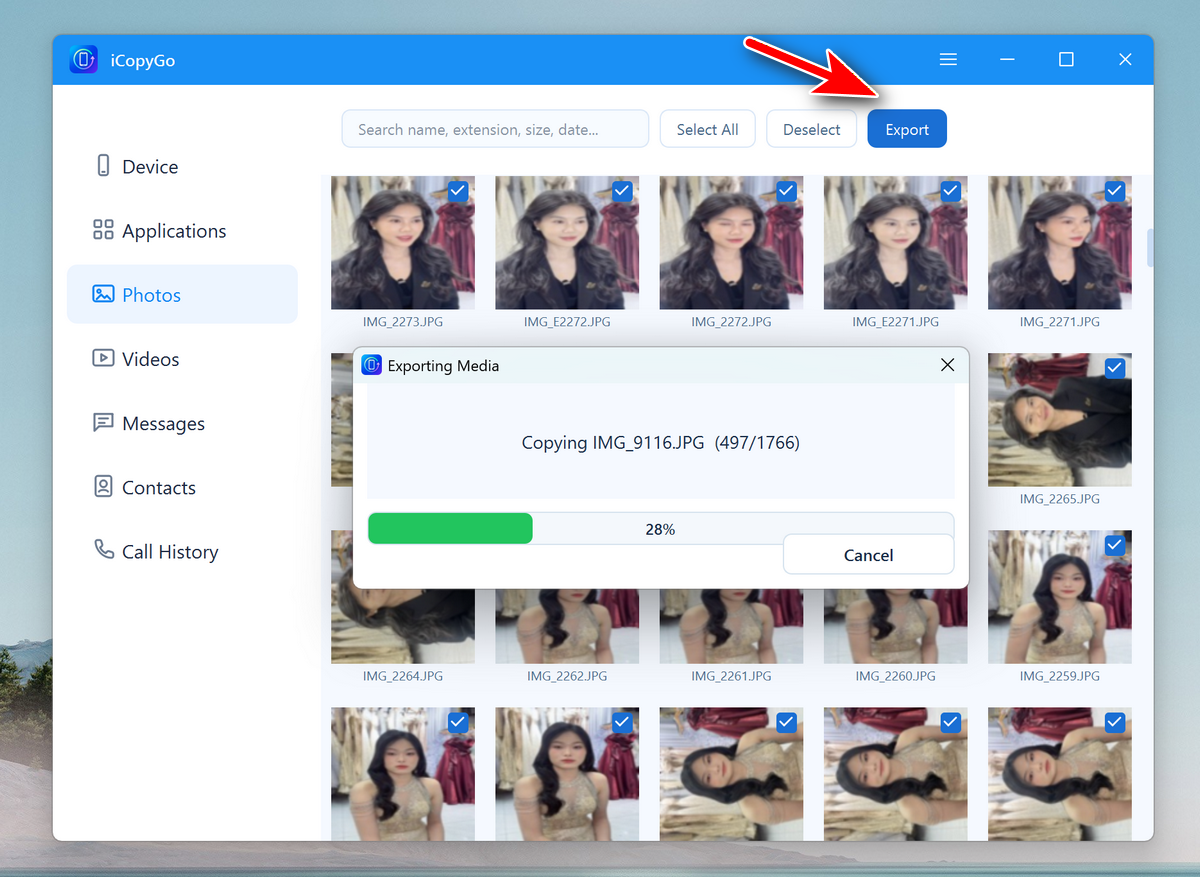
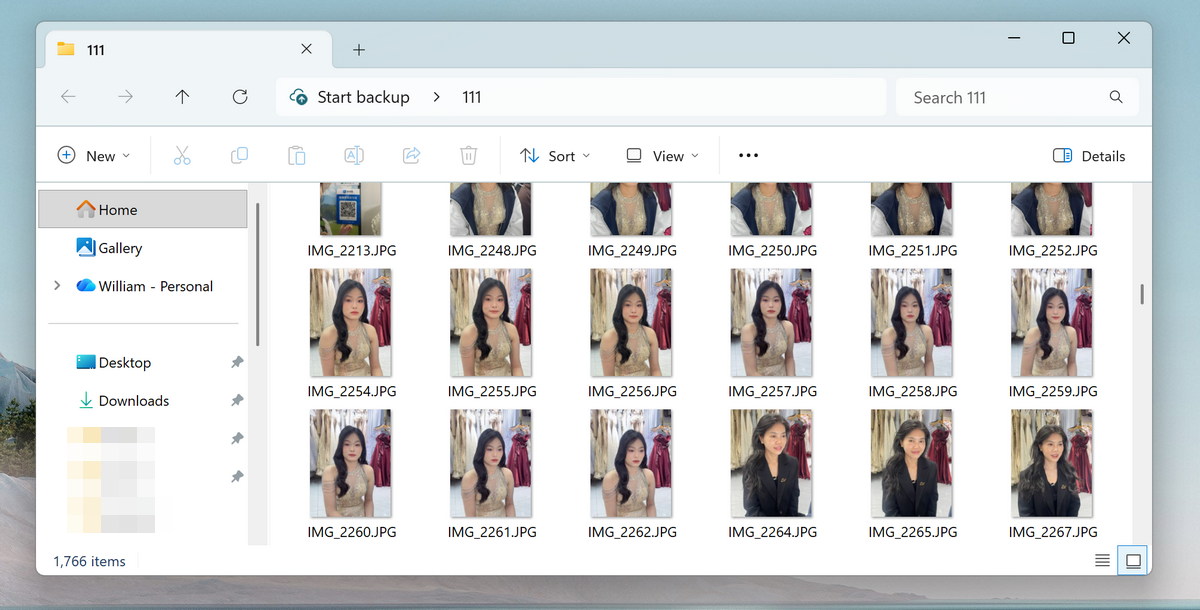
When the export is completed, open the output folder to view or edit the photos.
You can download it for free below.
Conclusion
Bulk transferring photos from iPhone to computer is one of the best ways to free up iPhone storage and protect important memories. Built-in options like File Explorer, Windows Photos, iCloud Photos, iTunes, and Finder may work for small transfers, but they can be slow or inconvenient when you need to move a large number of photos.
AiseeFox iCopyGo makes the process easier by letting you preview, select, and export iPhone photos in batches. It is a practical solution for users who want a fast, reliable, and beginner-friendly way to move photos from iPhone to Windows PC or Mac.