The C drive often contains the Windows operating system, installed programs, and user data. This means all data and apps are stored in a single partition. Over time, this setup can lead to clutter, poor organization, and inefficient use of disk space. Shrinking the C drive and extend the D drive allows you to better manage your files, store data separately, or even set up a dual-boot environment.
With Dr.Partition, a powerful and user-friendly disk manager for Windows 11/10/7, you can easily shrink C drive without any hassle.
How to Safely Shrink C Drive on a Windows PC
It is super easy to shrink C drive into two partitions with Dr.Partition software. Please follow the steps in below to get it done.
Step 1: Download and Launch Dr.Partition
Download and install Dr.Partition on your Windows PC. Launch the program and wait for it to detect all connected disks and partitions.

Step 2: Backup the Important Files in the C Drive
You need to backup the important files in the C drive in case of data loss. You can backup the files to an external drive or cloud drive like OneDrive, which is a n integrated part of Windows 11/10 OS.
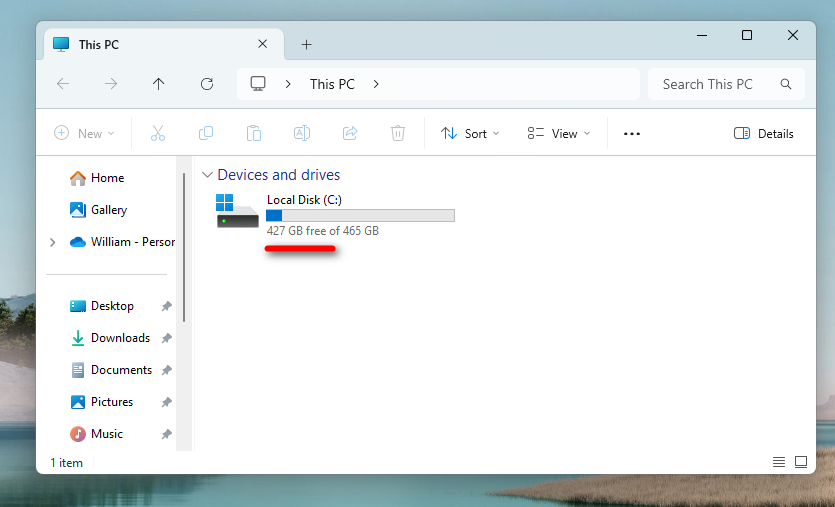
Step 3: Check the Free Space in the C Drive
Go to the Windows file explorer and check how much free space is left is C drive. For example, there is 427 GB free space available.
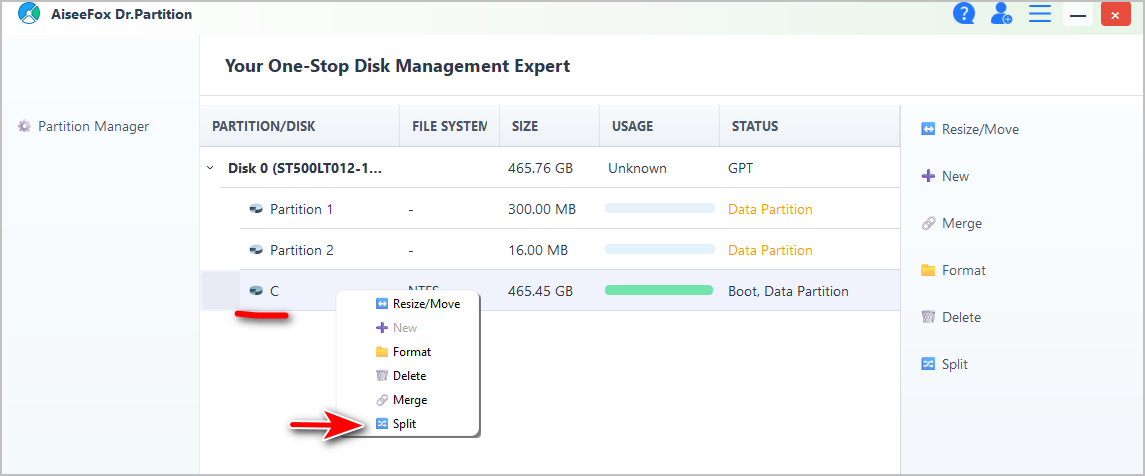
Step 4: Determine the Size to be Shrunk
In the main interface, locate the C drive and right click on it. Now, select the “Split” from the pop-up menu.
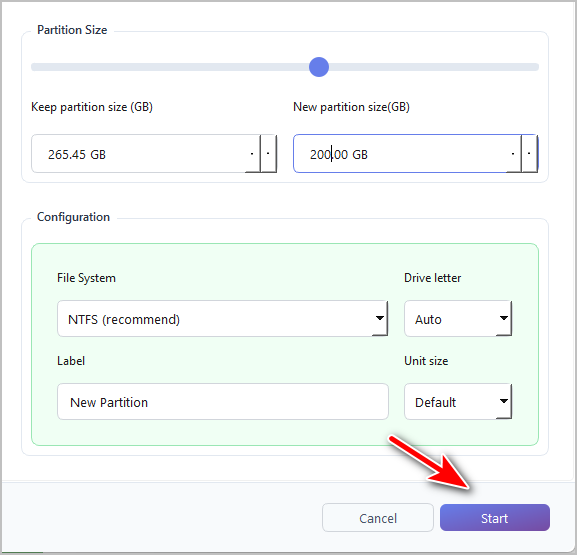
A dialog box will appear allowing you to define how much space you want to allocate for the new partition. Use the slider or manually enter the size under the “New Partition Size” section. In our case, we add 200 GB free space to the new partition.
Note: The size assigned to the new partition should be less than the free space left in the C partition. In my case, it should be less than 427 GB. By doing this, there is no data loss! And you should also leave enough space for the Windows OS as it needs more data for future usage.

Step 4: Start Shrink the C Drive
When the setting is finished, click the “Start” button to split the C drive into two partitions.
You will see the following message when it is done successfully.
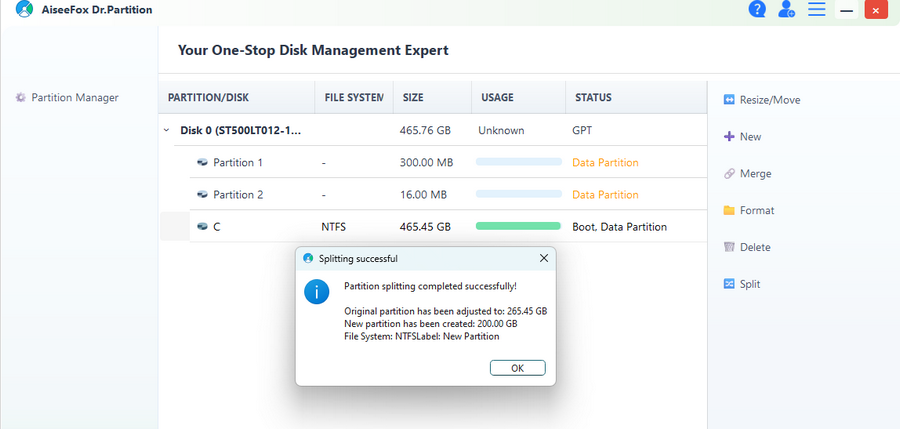
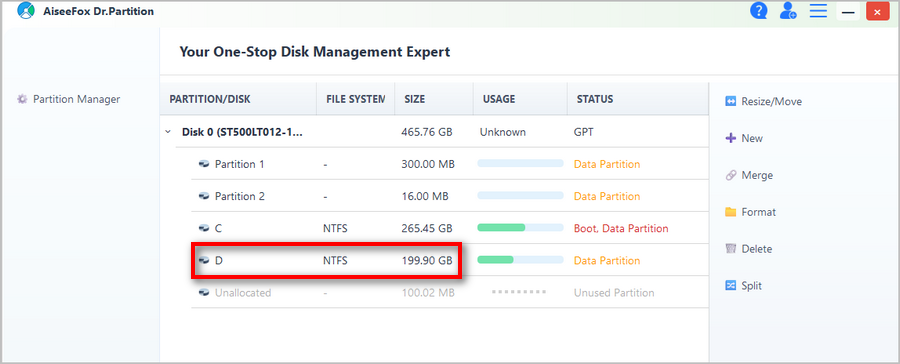
Finally, click the “OK” button to see the C partition and the new D partition (200 GB) from the program interface.
Conclusion
Shrinking the C drive on your Windows PC is a smart way to keep your data better organized and improve overall system management. With Dr.Partition, the process is safe, simple, and doesn’t require formatting or technical knowledge. Whether you’re creating a separate space for personal files, backups, or a second OS, Dr.Partition helps you get it done in minutes.