Duplicate files—especially large media files like videos, music, or high-resolution photos—can quickly eat up your storage. By removing them, you can reclaim gigabytes of space, especially useful on Macs with limited SSD capacity.
In short, removing duplicates helps keep your Mac lean, fast, and organized. If you’re regularly dealing with large amounts of files, it’s worth running a duplicate scan every few months.
How to Find and Delete Duplicate Files on Mac with AnyDupeCleaner
AnyDupeCleaner is a very reliable and efficient tool for finding and deleting duplicate files on Windows and Mac. And the process is simple and straightforward.
Step 1: Download & install
Just go to the official website and install it. You can also download it directly from the following link:


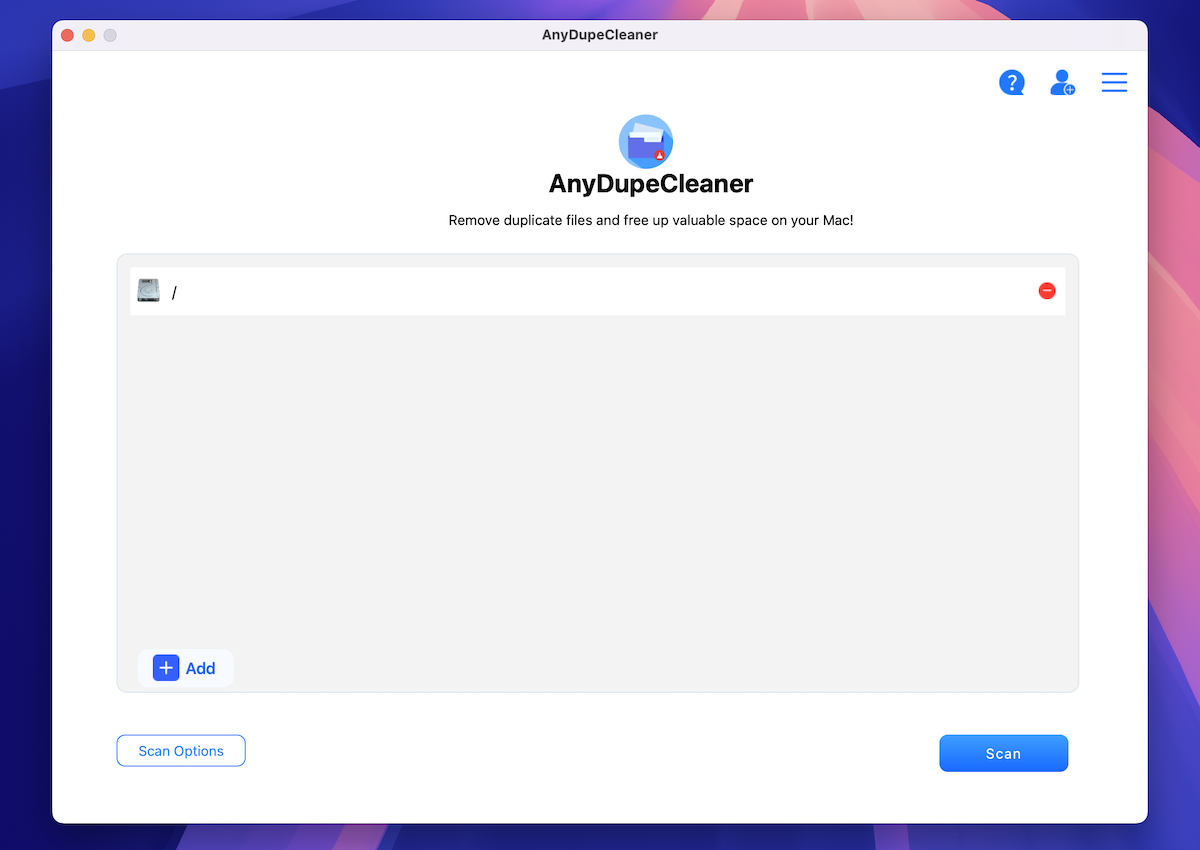
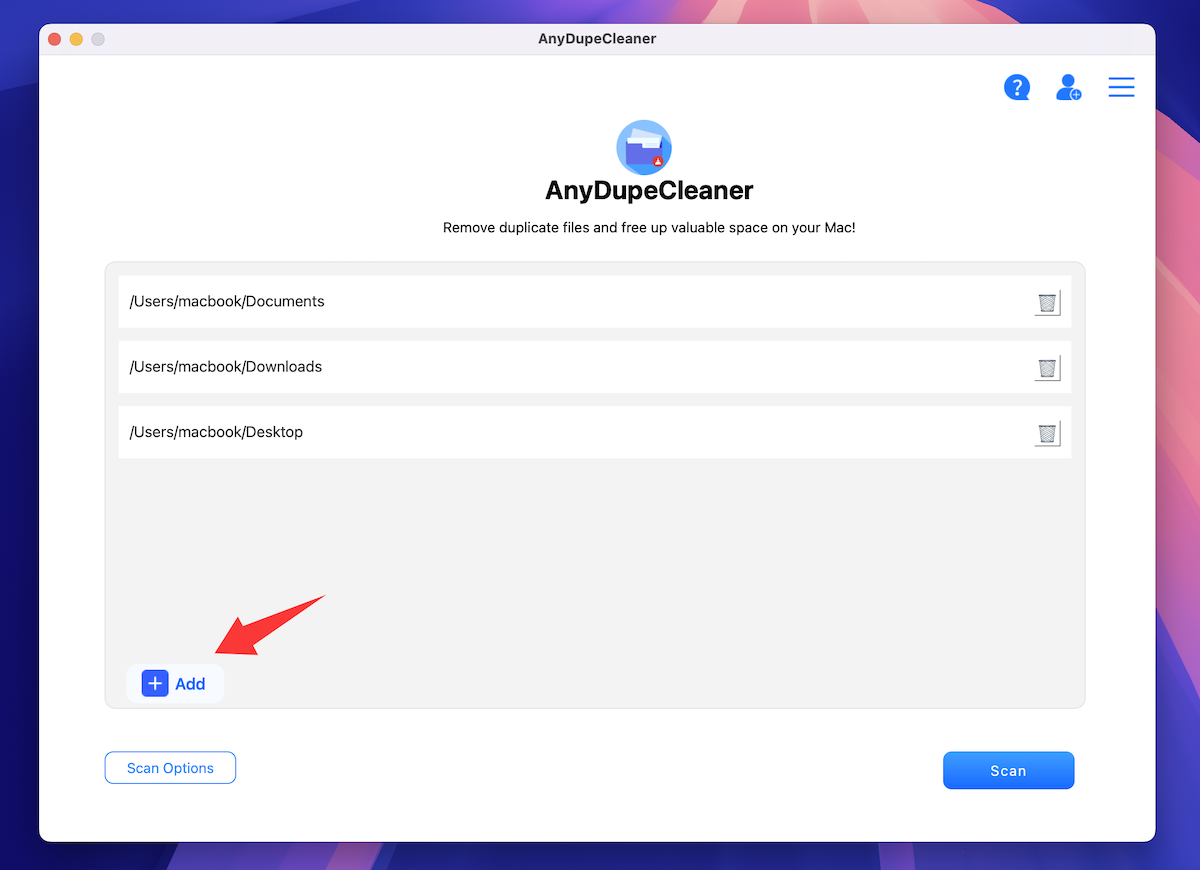
Step 2: Add folders to scan
Launch the app, then hit the “+” at the bottom to add folders. I usually scan Downloads, Documents, and my Pictures folder.
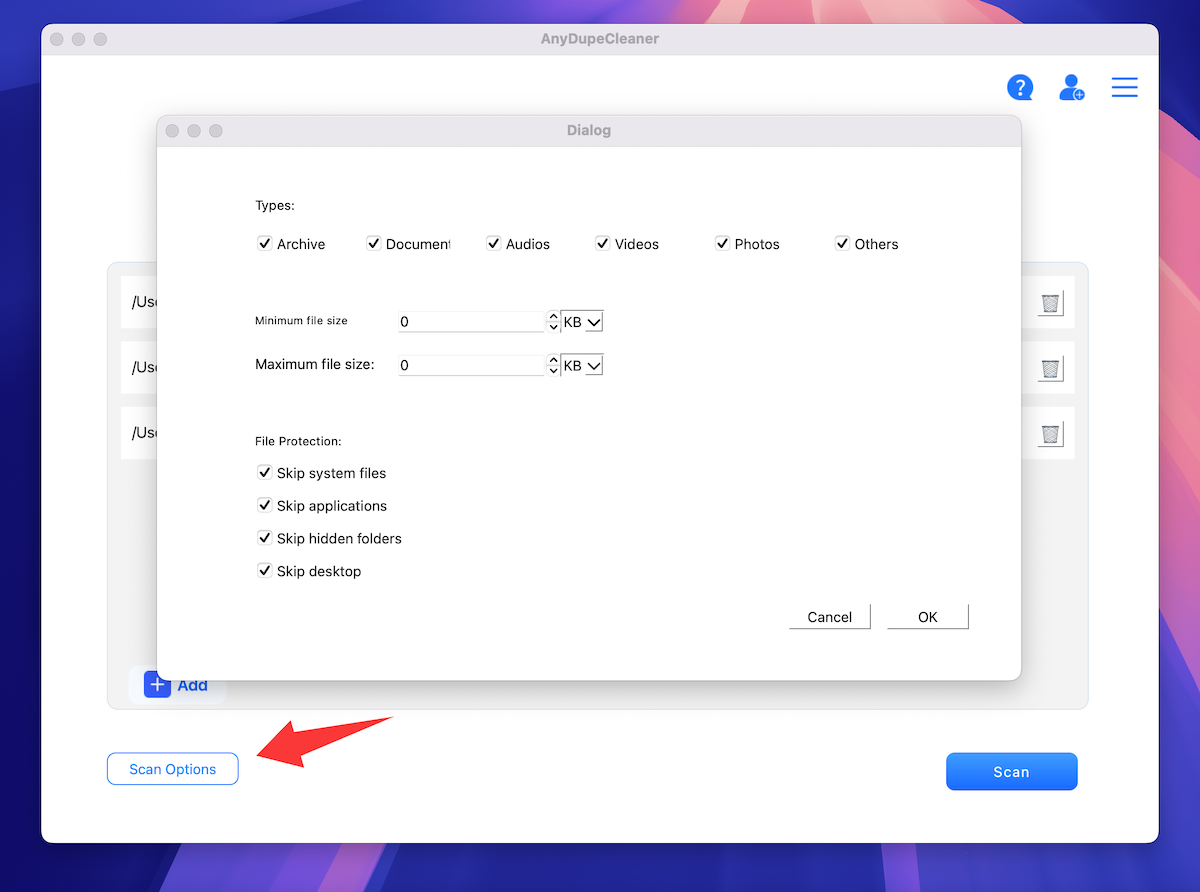
Step 3: Set your scan options
Want to scan just photos? Or ignore system files? You can tweak filters — file type, size range, date, and more. (I unchecked system folders to speed things up.)
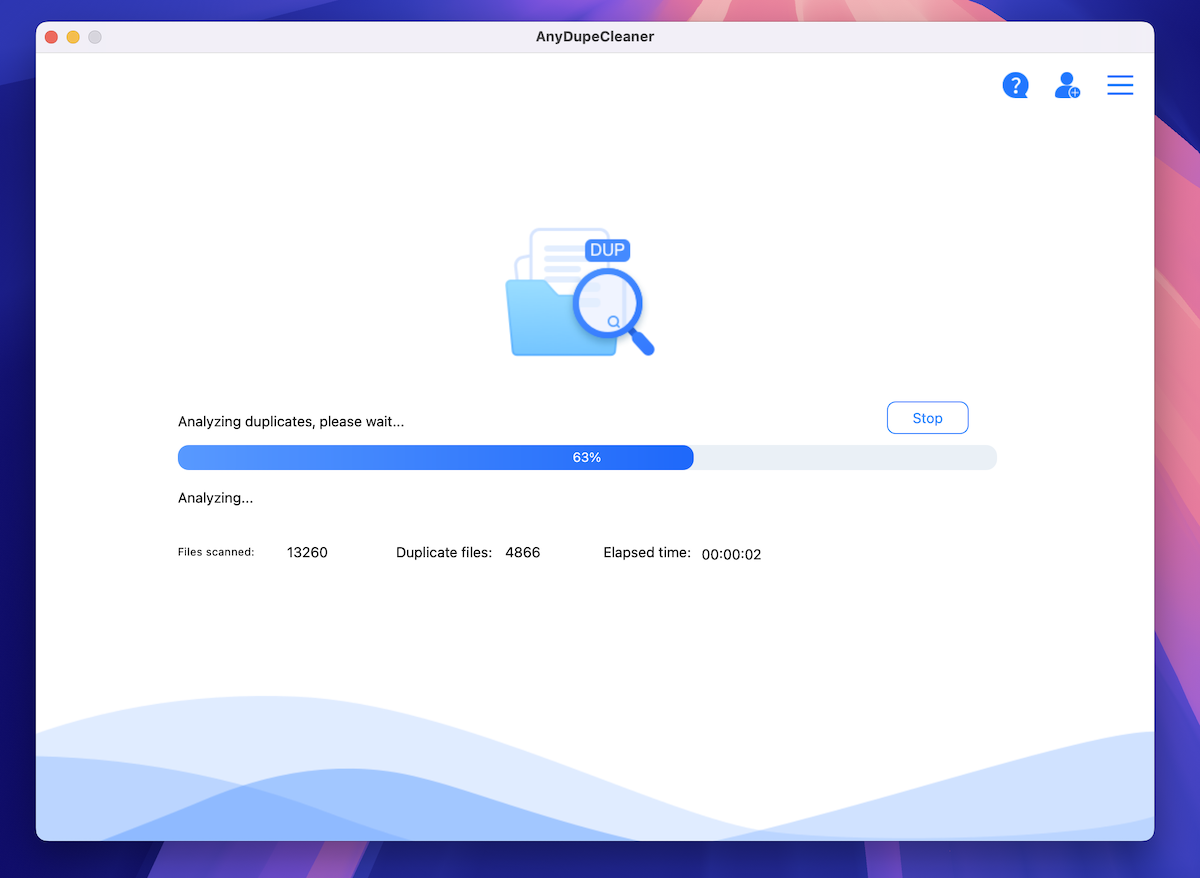
Step 4: Start scanning
Hit “Scan” and let it do its thing. For me, it took under 2 minutes to go through 20,000+ files.
Step 5: Review duplicates
You’ll get a nice list grouped by file name, size, or even exact content. You can preview photos, videos, or documents before deciding.
One thing I particularly like is that AnyDupeCleaner automatically determines the modification date of the file, and by default keeps the original file with the earliest date, and selects the newer duplicates for deletion.
In other words, if you have three identical photos, the system will keep the earliest one (usually the one you saved originally) instead of accidentally deleting the original one. This way, you don’t have to worry about the important original file being accidentally deleted, which is very suitable for people who have multiple versions of photos or work documents.
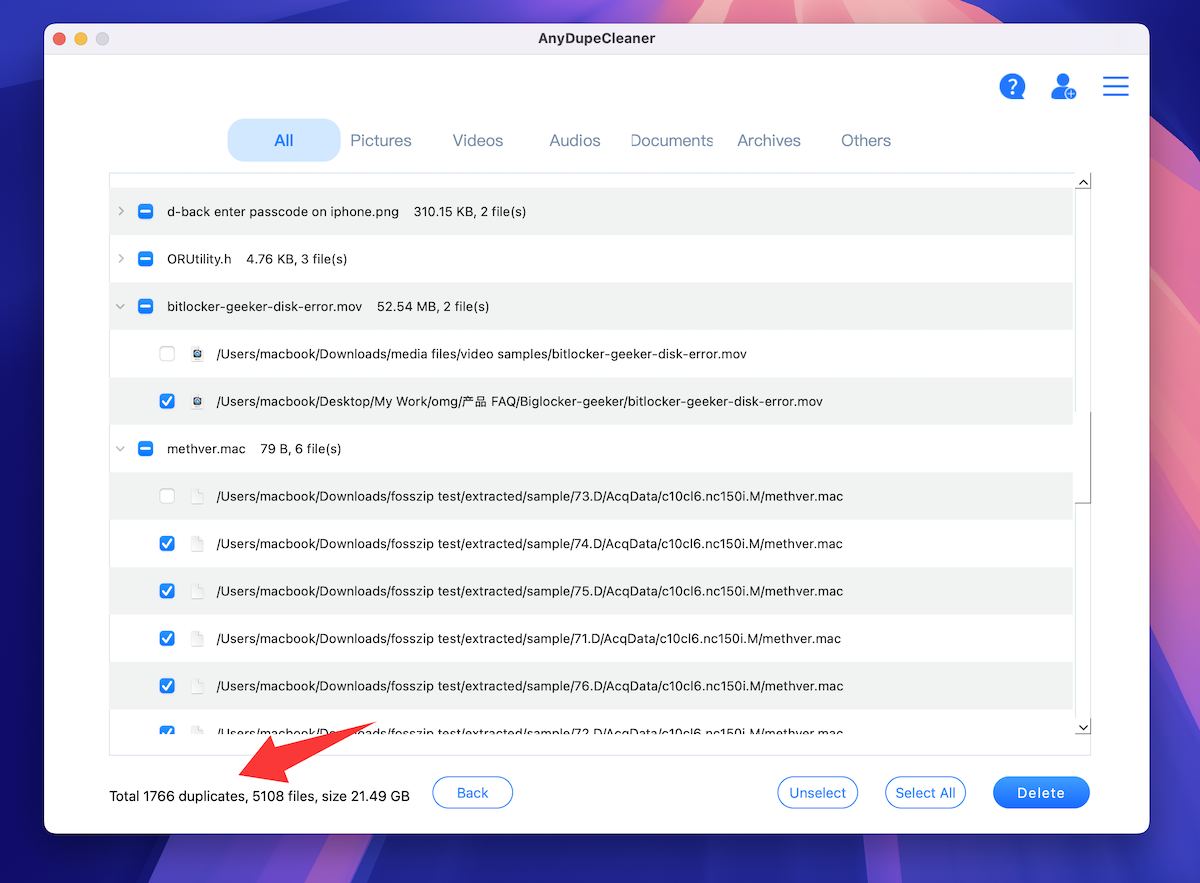
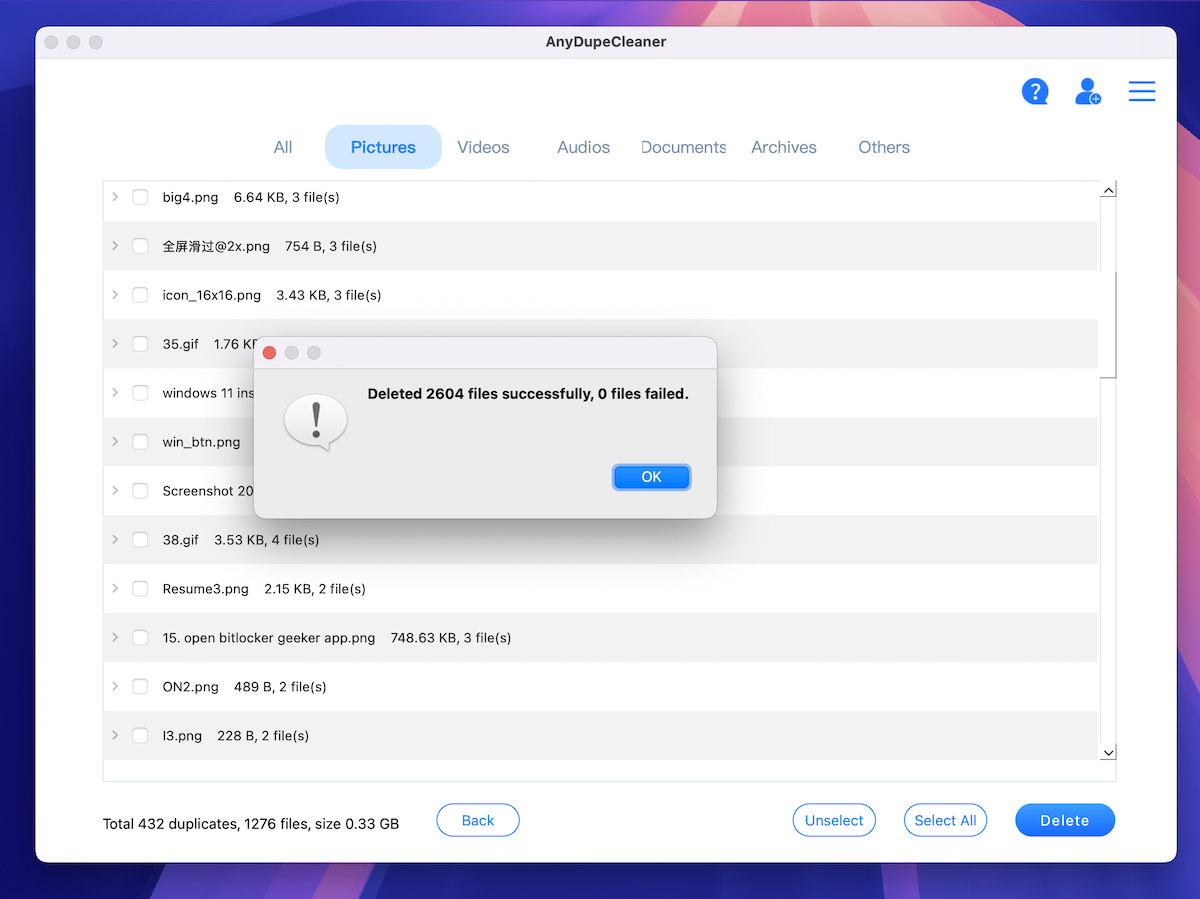
Step 6: Select & delete
Click the Select All button to keep one copy and delete the rest. Then just hit “Delete”, and boom — space saved. On my computer, A total of 4278 photos were deleted successfully!
Download the trail version here, really worth a try!
My thoughts
After using AnyDupeCleaner, I cleared almost 9 GB of duplicates I didn’t even know existed. The UI is clean (feels native to macOS), and I never had to read a manual or Google anything. For someone who hates over-complicated tools, that’s a win.
Final tip
Run this once every couple of months — especially if you’re a digital hoarder like me. Your SSD (and sanity) will thank you.